When you’re preparing to repair a concrete surface, it’s crucial to start with a clear plan. You’ll need to assess the damage carefully and identify any cracks or chips that require attention. Once you’ve done that, cleaning the surface becomes your next priority, ensuring it’s free of debris and stains that could compromise your repair efforts. After gathering the right tools and materials, you can set the stage for a successful repair. But there are additional factors to consider that could impact the outcome of your work…
Assessing the Damage
Before you begin any repairs, it’s crucial to assess the extent of the damage on your concrete surface. Start by visually inspecting the area for cracks, chips, or any other signs of deterioration. Look for cracks that may be small or hairline, as well as larger, more significant fractures. Take note of their width and length, since this will help determine the type of repair needed.
Next, check for any discoloration or stains that might indicate deeper issues, like moisture problems. If you notice any crumbling or flaking, it’s a sign that the surface may need more extensive repair than just filling in cracks. Make sure to feel the texture of the concrete; rough patches can indicate spalling or surface wear.
You should also assess the overall structure supporting the concrete. Ensure there are no underlying issues that could worsen the damage over time. Finally, consider environmental factors, like the exposure to freeze-thaw cycles, which can affect the longevity of your repairs. By thoroughly assessing the damage now, you’ll be better prepared for the next steps in your concrete repair process.
Cleaning the Surface
Once you’ve assessed the damage, the next step is to thoroughly clean the concrete surface to ensure proper adhesion for your repair materials. Start by sweeping away loose debris, dirt, and dust using a broom. This initial step helps eliminate any particles that could interfere with the bonding process.
Next, consider using a pressure washer to remove stubborn stains, grime, and any oil or grease spots. If you don’t have a pressure washer, a stiff-bristled brush and a mixture of water and a concrete cleaner can also work well. Make sure to scrub the surface thoroughly, paying special attention to the areas around the damage.
After cleaning, rinse the surface with clean water to remove any remaining cleaning agents. It’s essential to let the concrete dry completely before proceeding with repairs. Depending on the weather and humidity levels, this might take a few hours to a day.
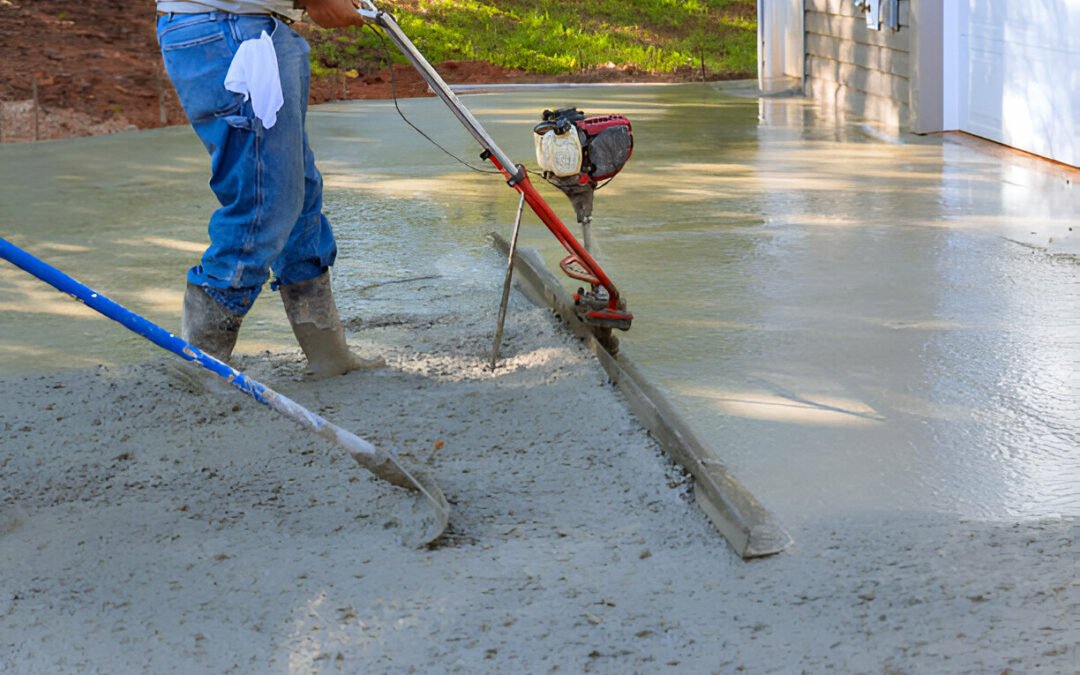
Gathering Tools and Materials
Gathering the right tools and materials is crucial for a successful concrete repair project. You’ll need to start by assembling basic tools like a concrete mixer, trowel, and float. If you’re dealing with cracks, grab a chisel and hammer, as well as a wire brush for cleaning. A safety mask and goggles are essential to protect yourself from dust and debris during the process.
Next, consider the materials. Depending on your repair’s scale, you might need concrete patching compound, epoxy, or a bonding agent. Make sure to read the labels to choose the right product for your specific repair type. If you’re fixing larger areas, you might want to buy ready-mix concrete.
Don’t forget about sealants or concrete sealers to protect your repair once it’s done. Having a bucket for mixing, a broom for cleanup, and some rags for spills can also make your job easier. Lastly, ensure you’ve got access to water, as it’s often necessary for mixing. By gathering all these tools and materials beforehand, you’ll set yourself up for a smoother, more efficient repair process.